“It's more than just a visualizer; it's a pivotal element in building a unique brand and elevating musical experiences.”
Will Vance
Managing Editor, Magnetic Magazine
Music Visualizer for Ableton Live
Connecting audio responsive music visuals to Ableton Live has never been easier!
Packed with over 50,000 music visuals, SYQEL instantly turns your music into a mesmerizing audio visual experience.
Fully automated audio responsive visuals that improves your performance instantly!
Simple Keyboard Hotkeys
Optimize the visual experience to highlight and compliment your music sets.
Zero Learning Curve
Save hundred of hours learning complicated software. Simply click Start Visualizer & We'll do the rest!
Milkdrop & ThreeJs Feeds
Visualize your music with over 50,000 Milkdrop visuals and hundreds of ThreeJS shaders
Visualizing your music from Ableton Live has never been easier using SYQEL. It requires little setup, and the solution is easy for users on MacOS and Windows.
Visualizing your music has never been more important within the confines of the ever evolving music-industry. Promoting your work in progress tracks on social media is the new way to create an audience. The problem? What do you show on screen? It could be the digital audio workstation itself, or a nice picture you find, but by far the best way to compliment your audio, is with moving audio-responsive visuals.
With SYQEL, you can use already created audio responsive visuals with the press of one button. You can choose and have access to tens of thousands of pre-made visualizers. We’re going to show you how to set-up Ableton, to send audio to SYQEL, so you can easily record or stream your music paired with an audio visualizer.
SYQEL Overview
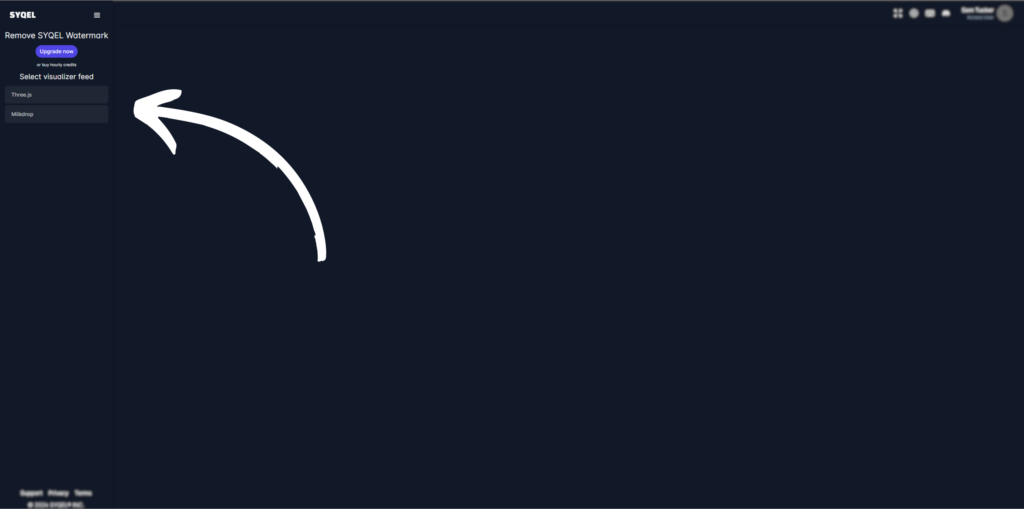
First and foremost, create a SYQEL account and login to get to the main page. Let’s quickly do an overview of SYQEL before we get into how to route Ableton’s audio. So, on the left-hand side is our visualization control menu. There are currently 2 visualizer engines: Threejs and milk drop. Threejs allows you to use visual playlists that you can create, we’ll go through those later. And milk drop will automatically cycle through tens of thousands of visuals.
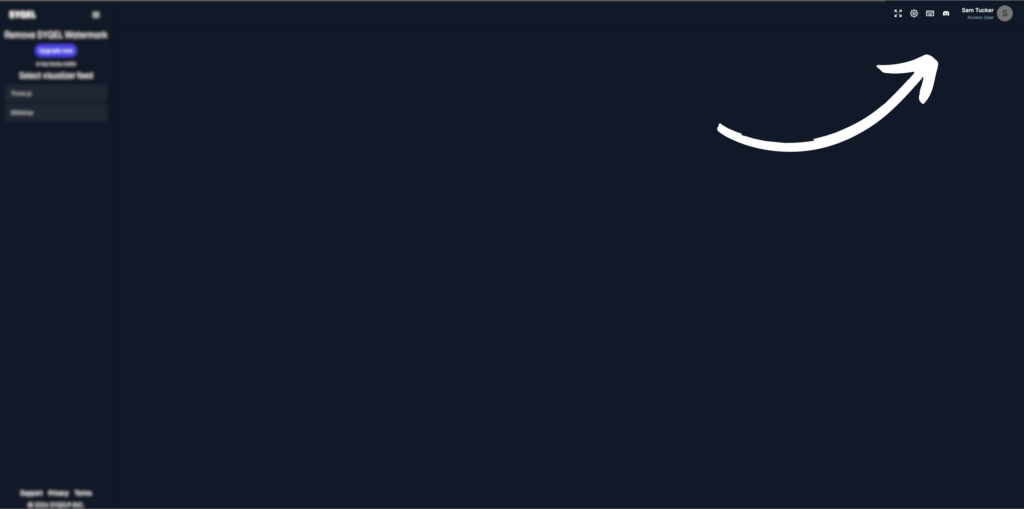
You can get to your settings, hotkey menu, and user settings at the top right. Later, we’ll dive into the settings and hotkeys. As an overview, here you will be able to access the playlist creator, visual reactiveness, marquee text, and more.
Setting Up Ableton to Route Audio to SYQEL
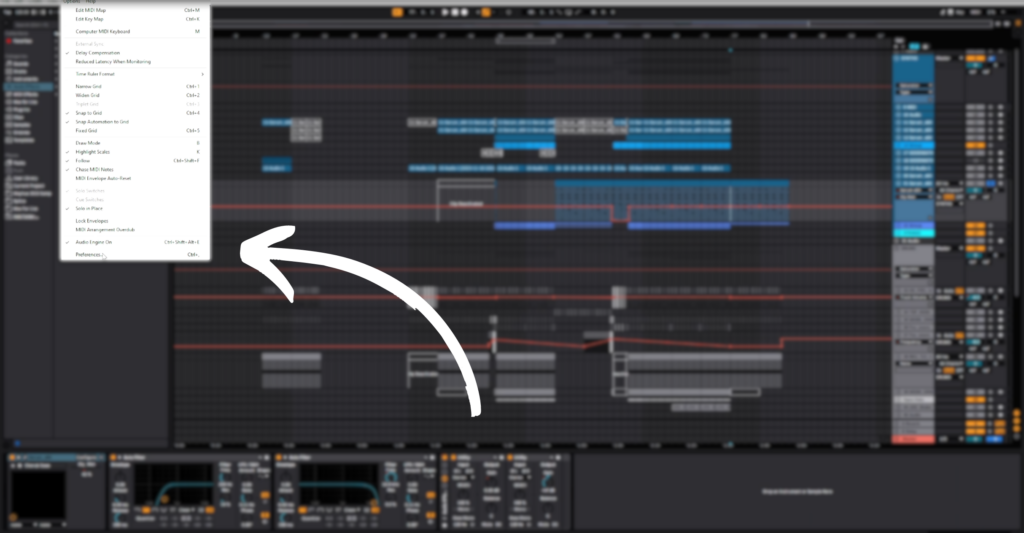
Alright, before we really dive into SYQEL, let’s set up Ableton to send audio into SYQEL. So, here I have my work in progress track open in Ableton. So, let’s go to Ableton’s Preferences at the top left.
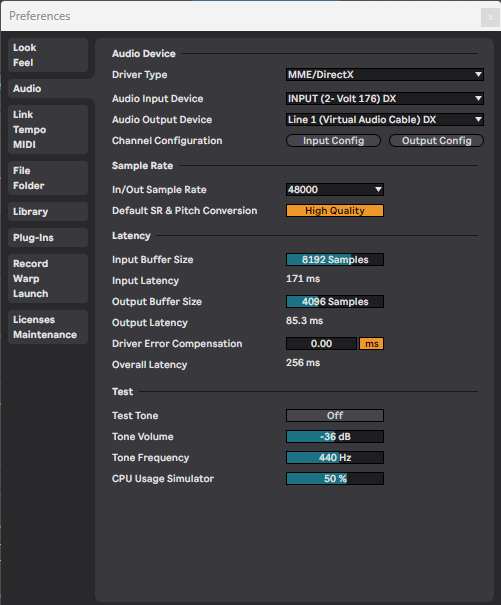
Now, head to the audio section of the preferences. Here we can switch the audio driver, so in most cases you might be used to producing using ASIO drivers, or your audio interface driver. In my case I am using my Universal Audio Audio driver. We need to change this to MME/Directx driver for windows. The reason for this is because ASIO drivers do not let you route the audio anywhere else. So, with our MME/.Directx driver (or whatever default desktop audio you have), you can route that audio to SYQEL automatically. For our output, we can just choose our default output.

Great, now our is routing ready to go. We also just hit two birds with one stone, as this is also how we can route audio on windows into OBS, the screen recording software we’ll go over later. We also have another option for routing audio in Windows, and that is using a virtual audio cable. Let’s go over that now.
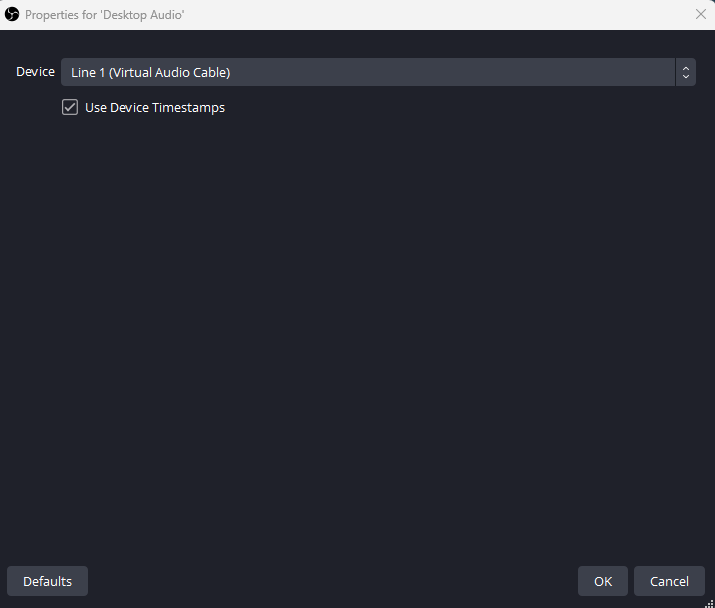
Simply download and install a virtual audio cable, then once it is installed, we can head back to Ableton, and select Line 1 (virtual audio cable) as our audio output
Now let’s go over how to set up Ableton to route audio on macOS.
For users on mac, we need to download and install a program called Loopback, which will allow us to route audio from Ableton to SYQEL.
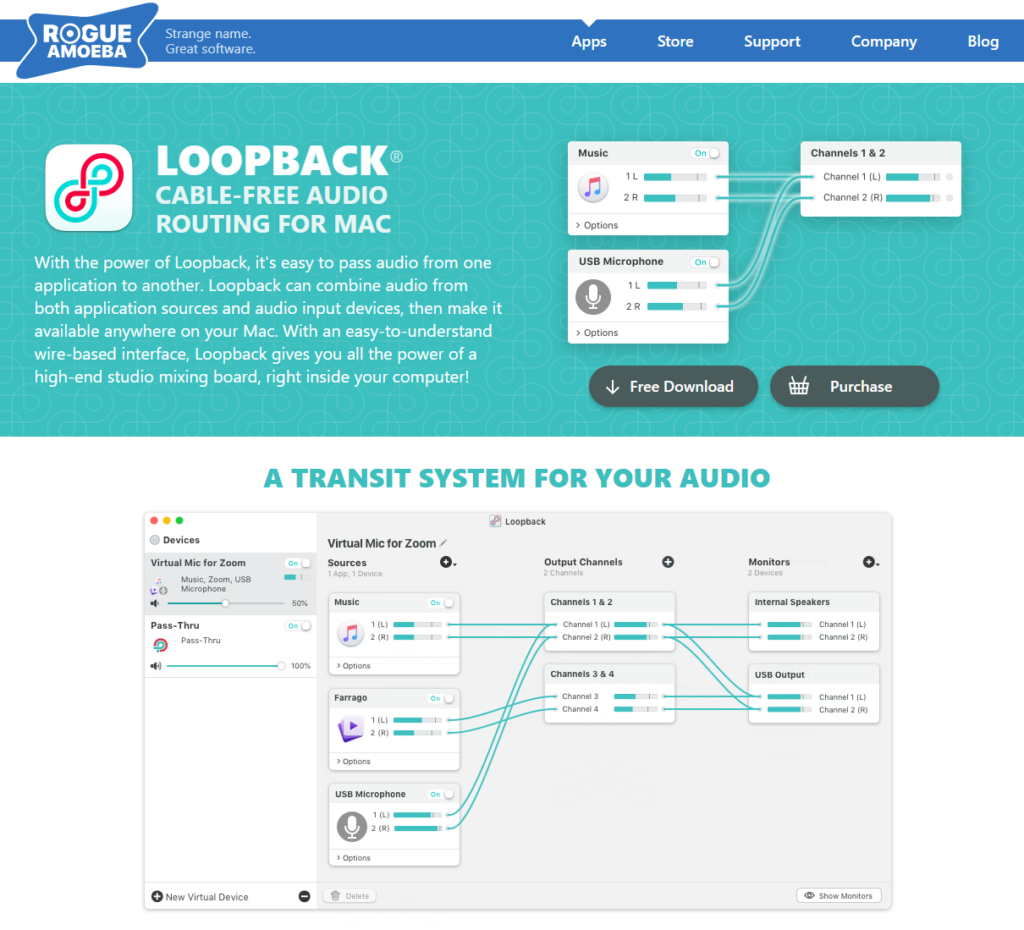
Once Loopback is installed, open up the program and create a new audio device. Now we can head over to Ableton.
Within Ableton, all we need to do is go to our audio preferences, just like windows, however this time for our driver type, we need to have core audio selected.

Great, now we are ready to go back to SYQEL, and select our audio input. Click on the visual engine you want to use on the left-hand side. Then, click on the audio input selection. For users on windows, we will select our default audio, like realtek audio. If you are using a virtual audio cable, we’ll select Line 1 (virtual audio cable) as our input.
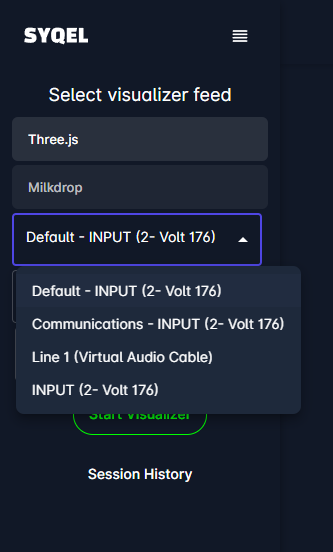
Now, for users on mac, we can just select our Loopback audio. It’s that easy!
Creating Visual Playlists
Now that we know how to correctly route our audio from Ableton Live to SYQEL, let’s go over how to create visual playlists to use in the Three.js visual engine.
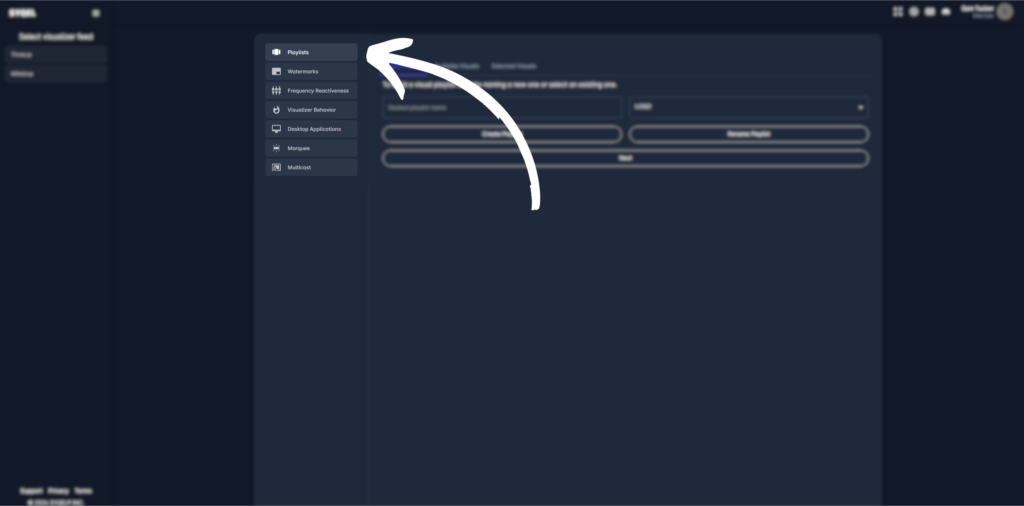
Click on the settings icon at the top right, you will then be greeted with SYQEL’s settings and options.
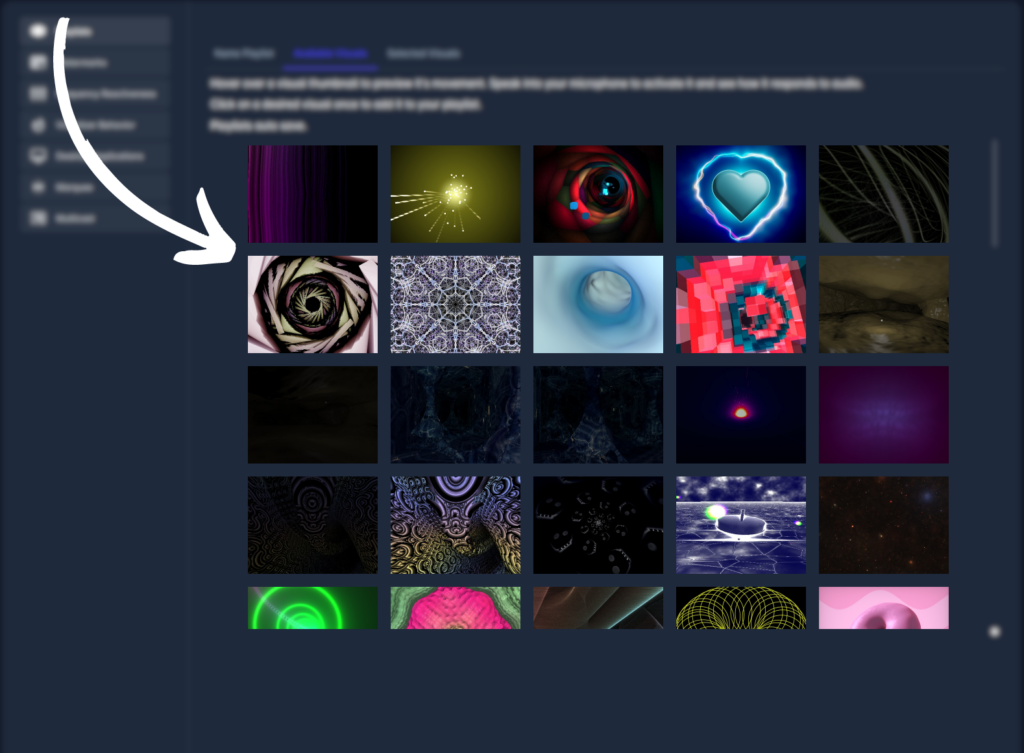
Navigate to the first option, visual playlists.
Here, we can create and edit playlists of visuals that you can choose from. Simply name your new playlist, and hit create new. Or you can select and rename playlists you have already created.
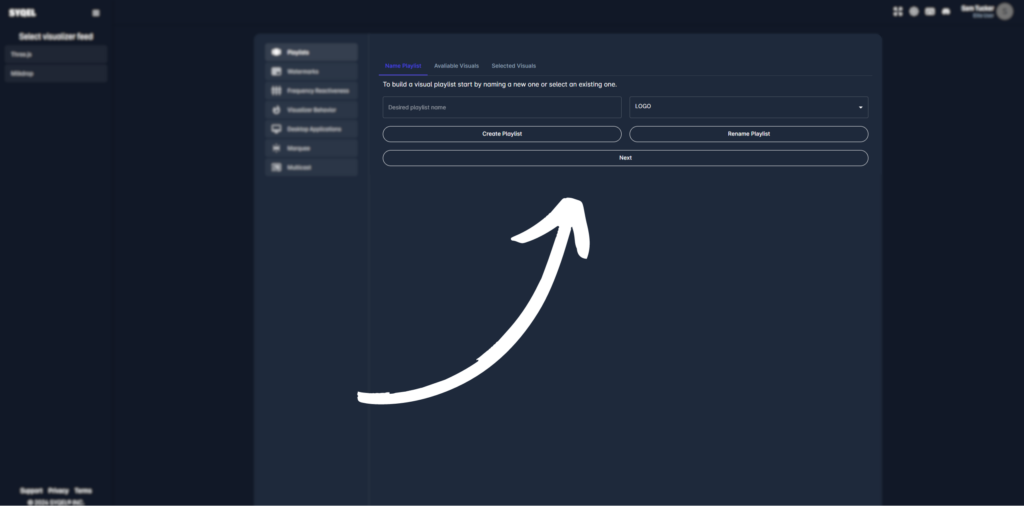
Then, hit next or go to available visuals. Here we can preview all of the audio-responsive visuals available to you. Simply hover over them with your mouse and speak into your microphone to preview how the visual responds. Then, click on any that you would like to add to your playlist.
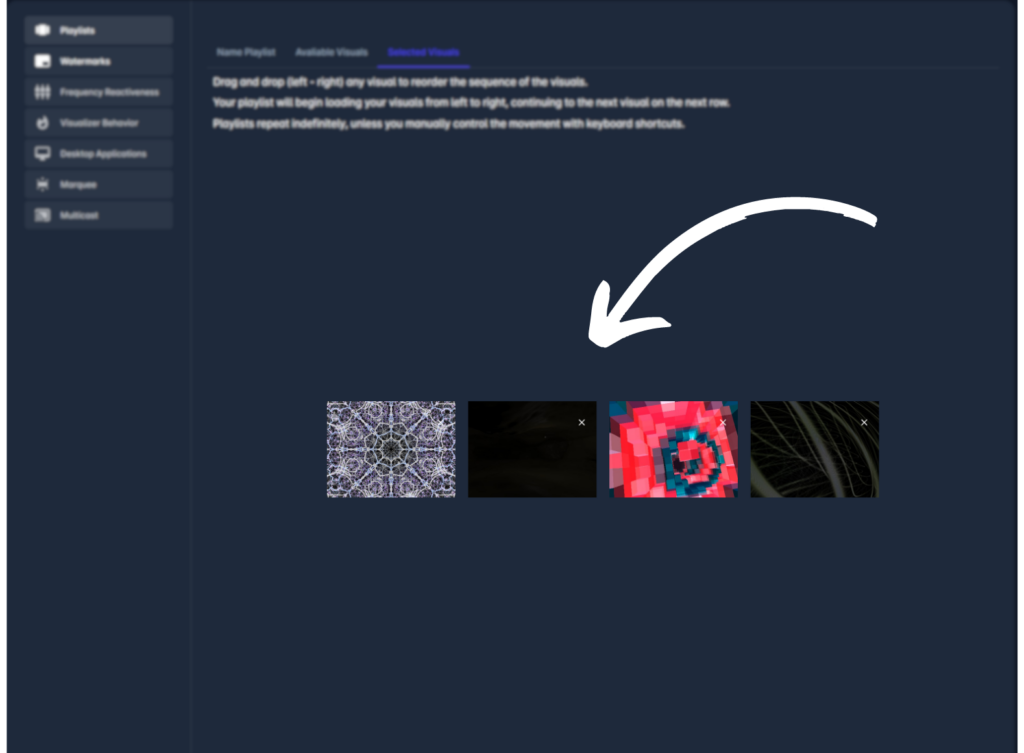
Now we can head to selected visuals. Here we can view all of the visuals we chose. We can re-order them by clicking and dragging them, or remove any by clicking the small “x” at the top right of each one.
Now you’ve created your very first visual playlist! Now, let’s check out SYQEL’s other settings and options.
SYQEL Watermark Settings
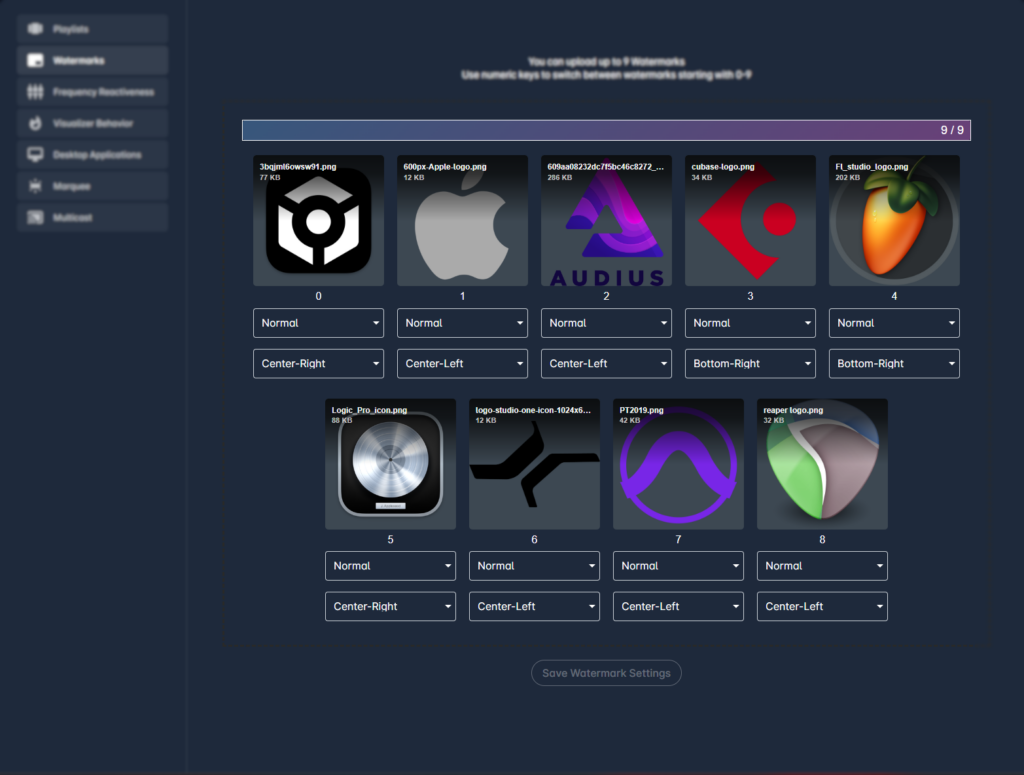
If you are a paid user, you can add in up to 9 of your own watermarks to be displayed on the visualizer as it is going.
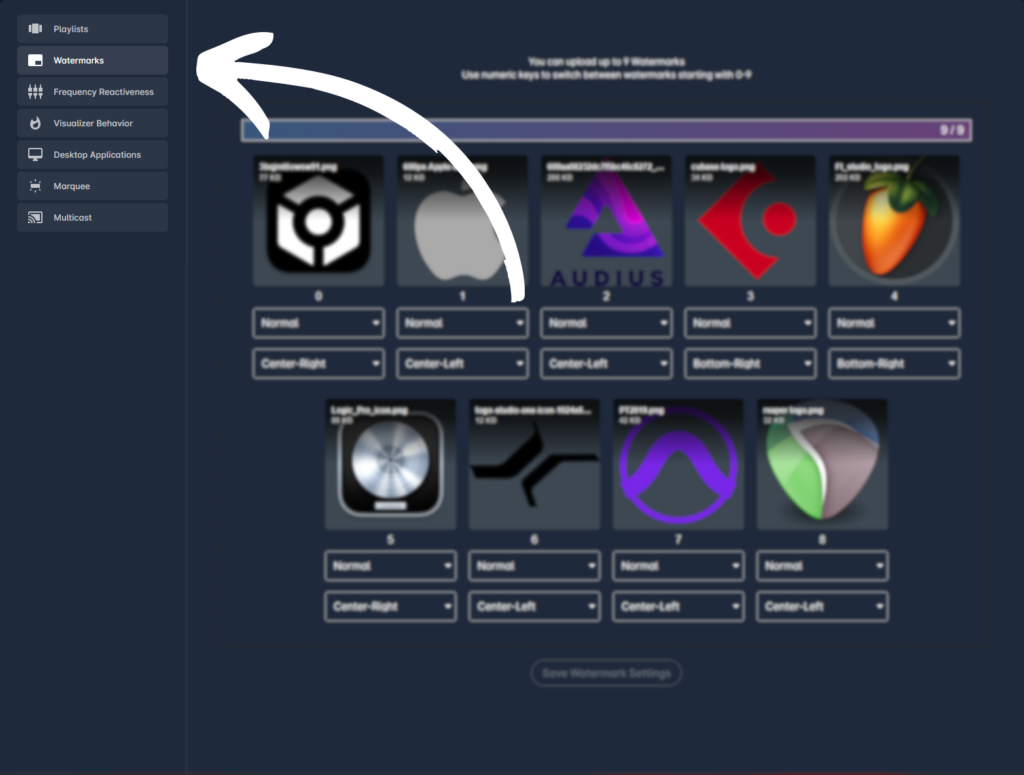
Here, you can simply drag and drop your images to upload them. Then, under each one, you can adjust the size and positioning. Don’t forget to save your settings at the bottom!
Great, now let’s move on to the Frequency Reactiveness Settings.
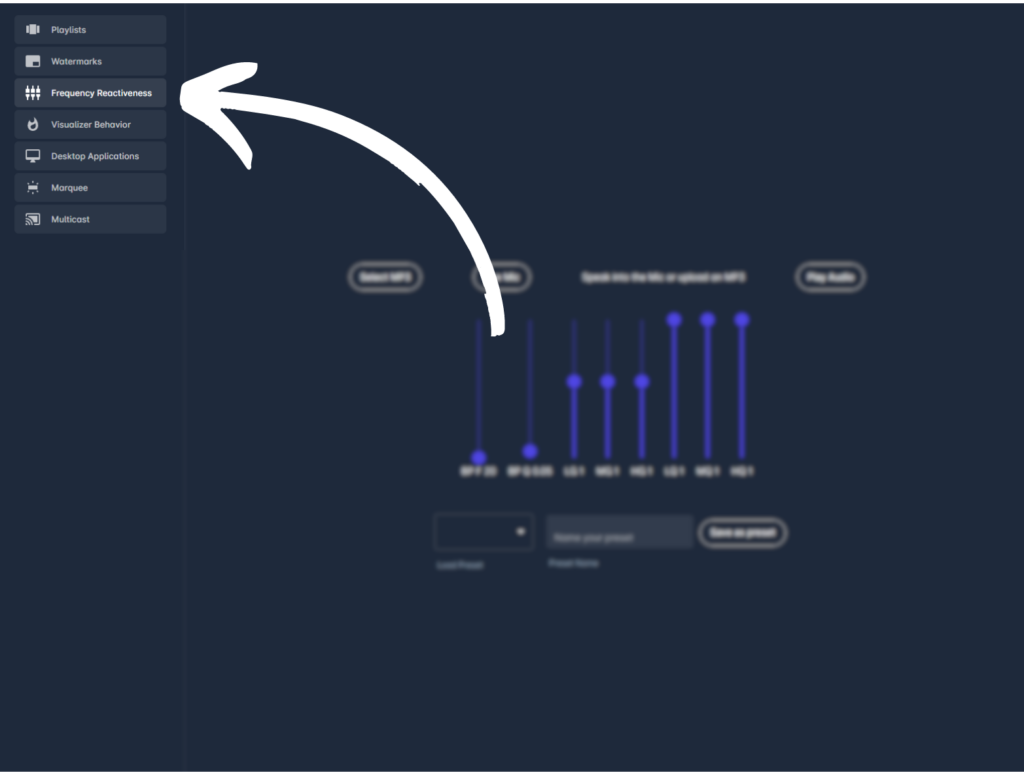
Frequency Reactiveness Settings
On the third menu, we can utilize the frequency reactiveness settings.
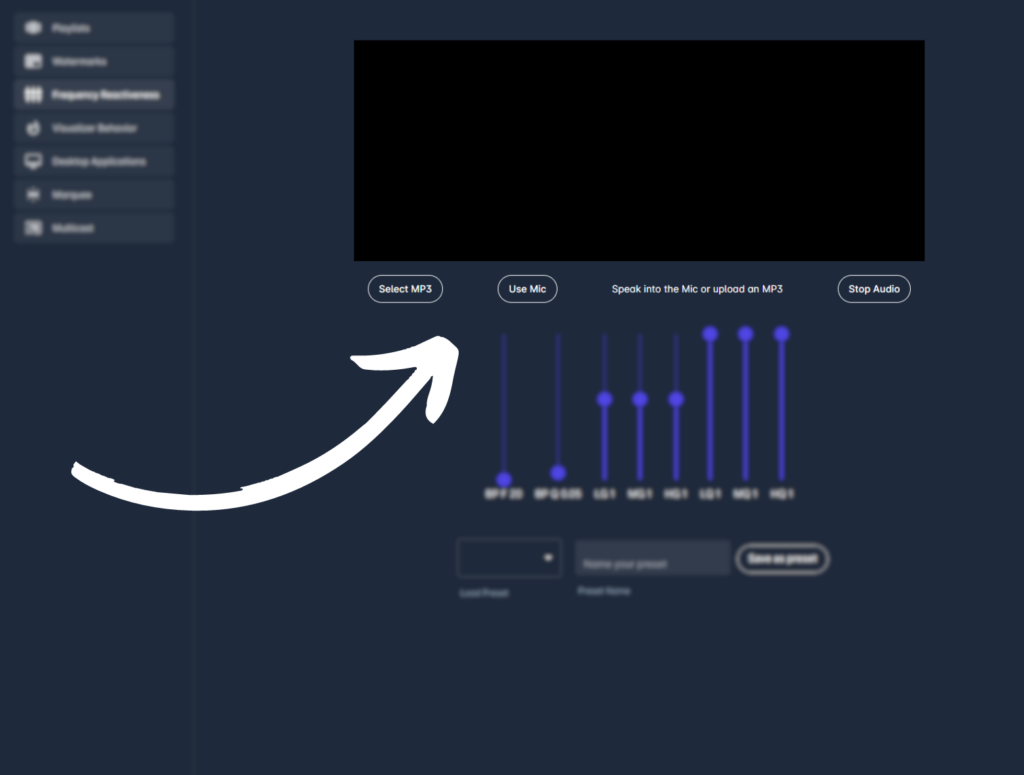
Here, we can set an equalizer to affect the incoming audio in SYQEL. In simpler terms, we can tell SYQEL what frequency ranges to respond to. For example, the low frequencies would be the kick and bass. The mid frequencies usually include synthesizers, instruments, and vocals. The high frequencies might include hi-hats and cymbals. So here, we can tell SYQEL which ranges to respond to.
First, we can upload an mp3 or enable our microphone to preview how the equalizer is changing the incoming audio
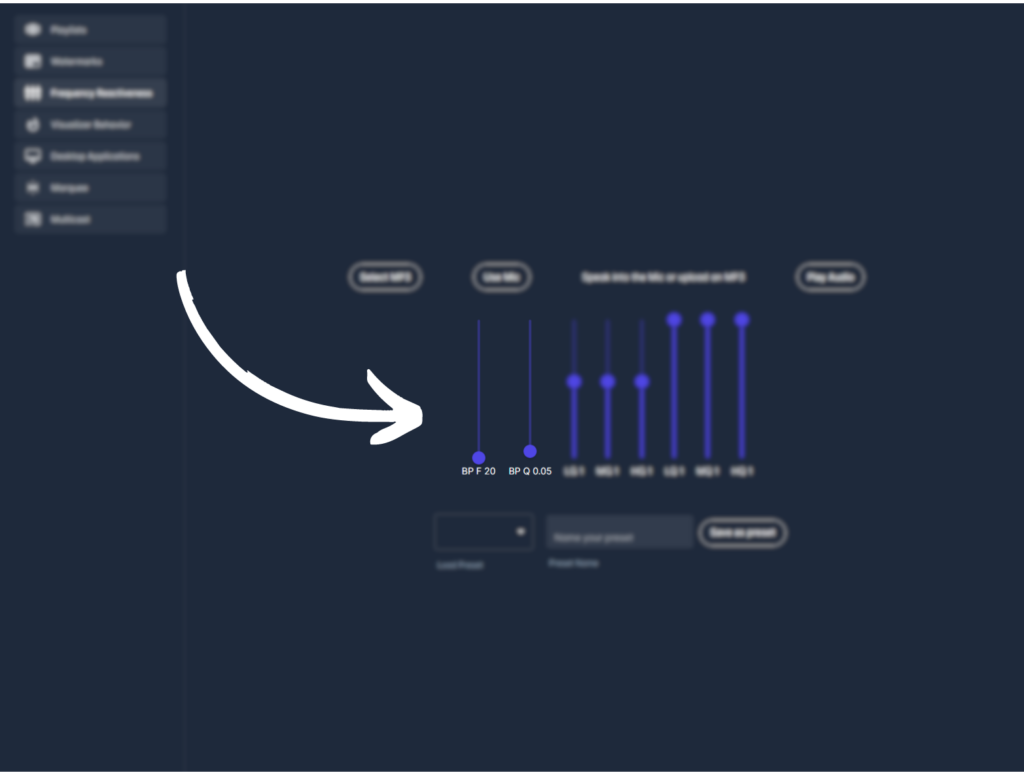
Then, we have access to 8 sliders. The first two applies a bandpass filter to the audio. A bandpass filter is an effect that only allows certain frequencies to be heard. The first slider changes the frequency of the bandpass filter, while the second slider adjusts how much the filter is being applied. This is great for isolating certain parts of your audio like the kick and bass.
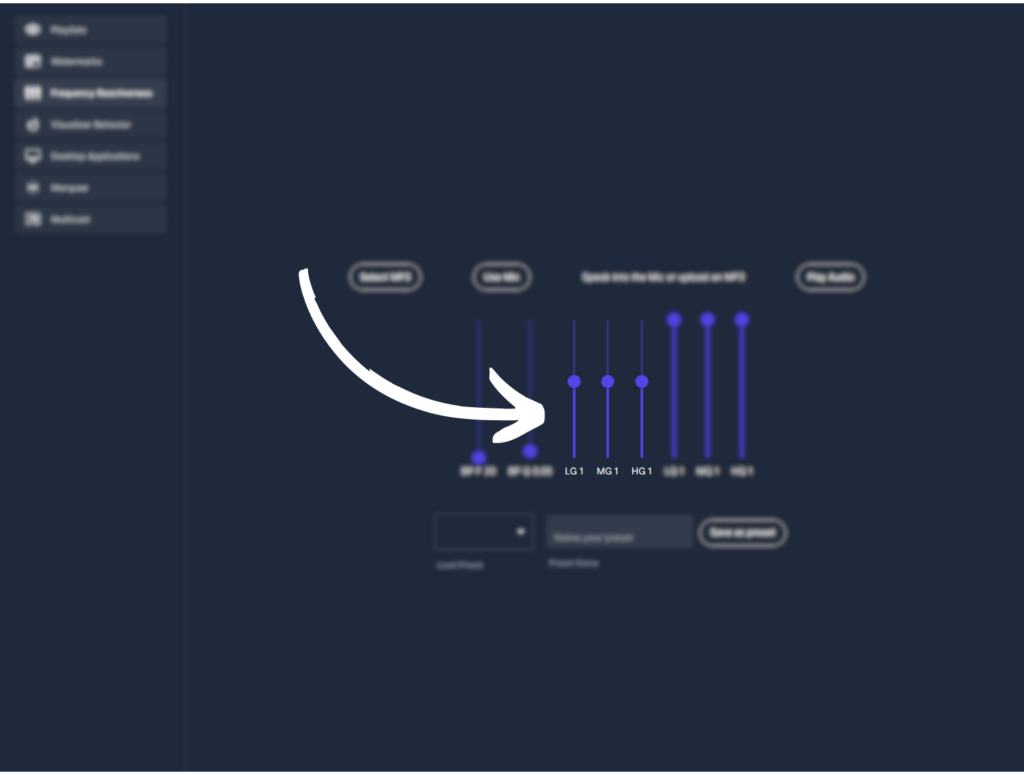
The next three sliders affect the overall equalizer. The first of these three affects the gain (or volume) of the low frequencies. The second of the three affect the gain of the mid frequencies, and the third affects the gain of the high frequencies.
The last three sliders affect the resonance or intensity of the three previous sliders. The first one affects the low frequencies, the second one affects the mid frequencies, and the last one affects the high frequencies.
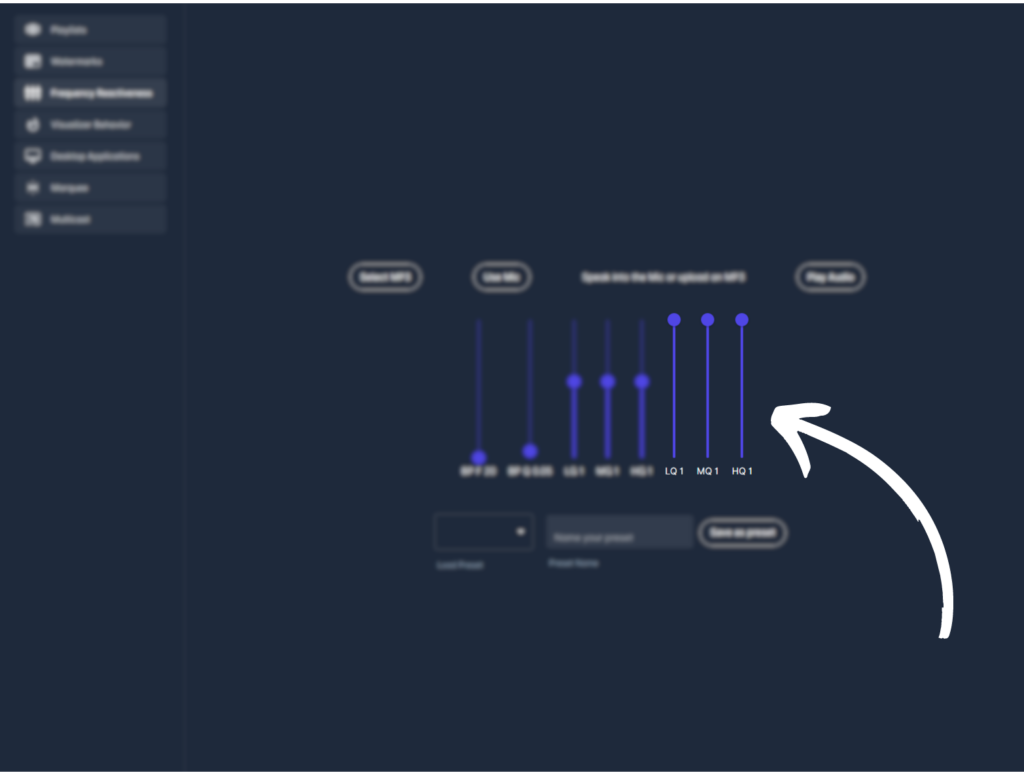
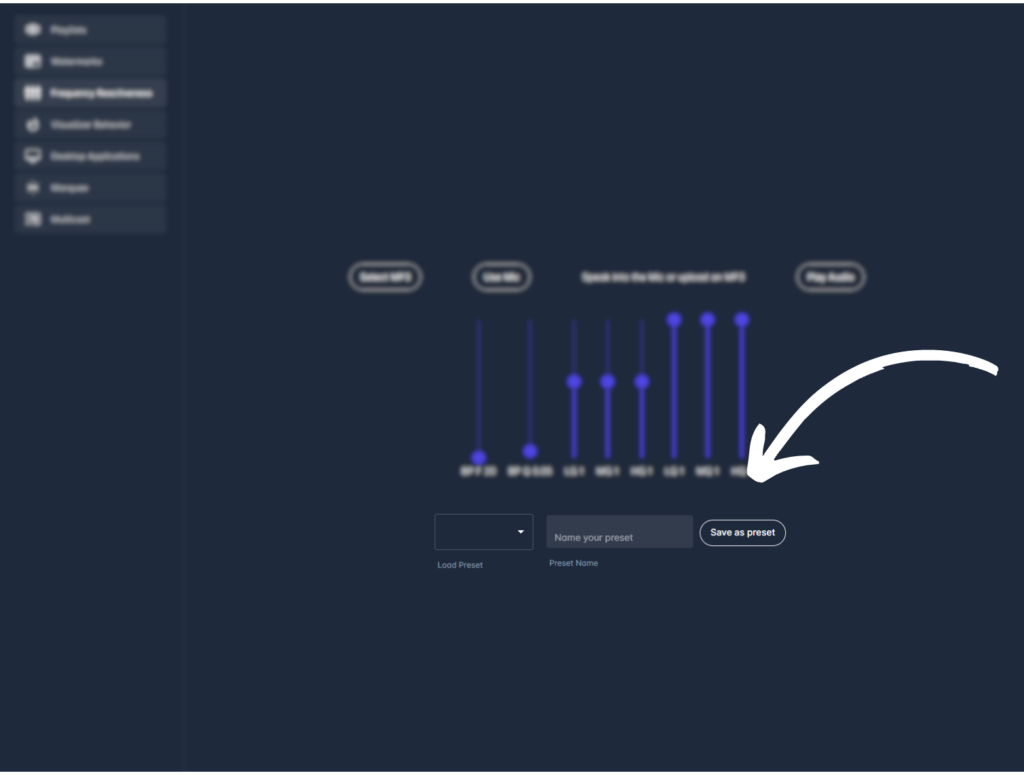
Finally, we can name and save our settings as an audio preset at the bottom. We can also load and edit any previous presets we have created. We will be able to apply these in the visualization control menu.
Now let’s go over the Visualizer Behavior Options.
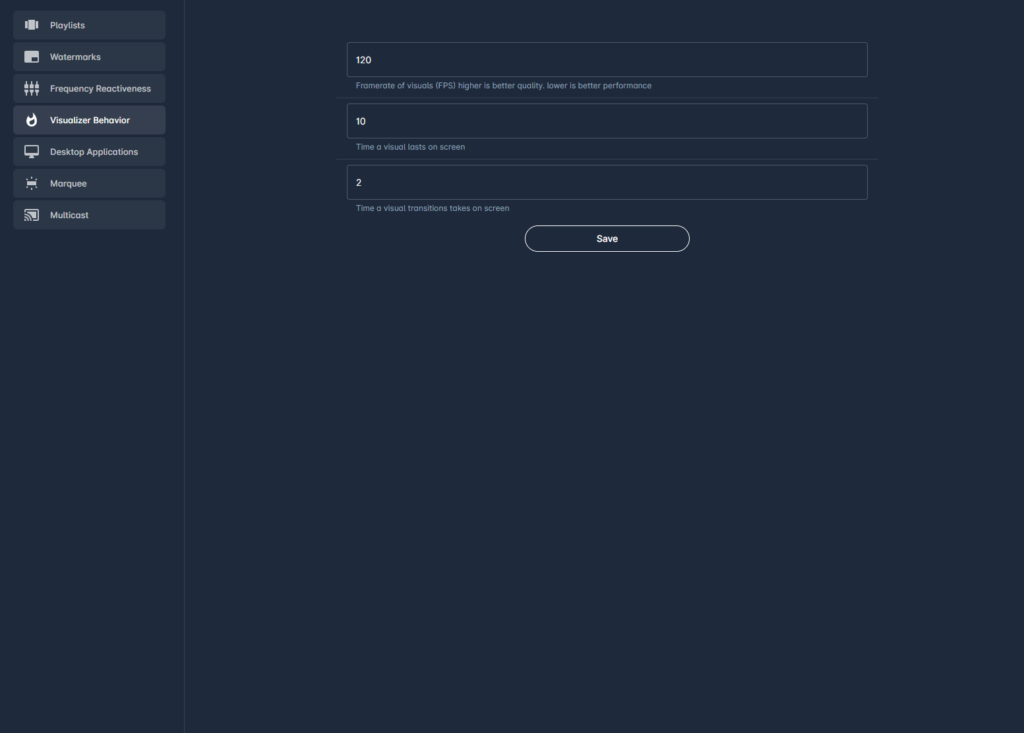
Visualizer Behavior Options
In the visualizer behavior settings, we can set the framerate of the visuals, the time a visual lasts on screen before cycling to the next one, and how long it takes to transition to the next visual. Don’t forget to save your settings at the bottom!
Now let’s head to the Marquee Text Options.
Marquee Text
Here we can write text that can be displayed while the visualizer is going. We can also choose the size of the text.
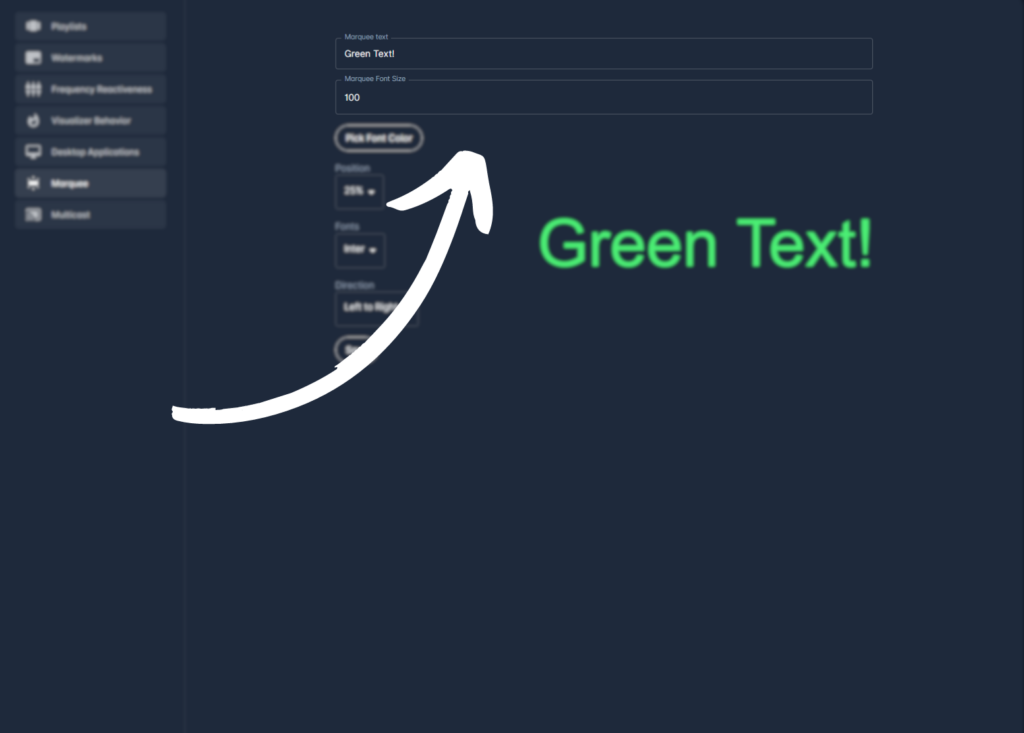
We can then choose a color for the text.
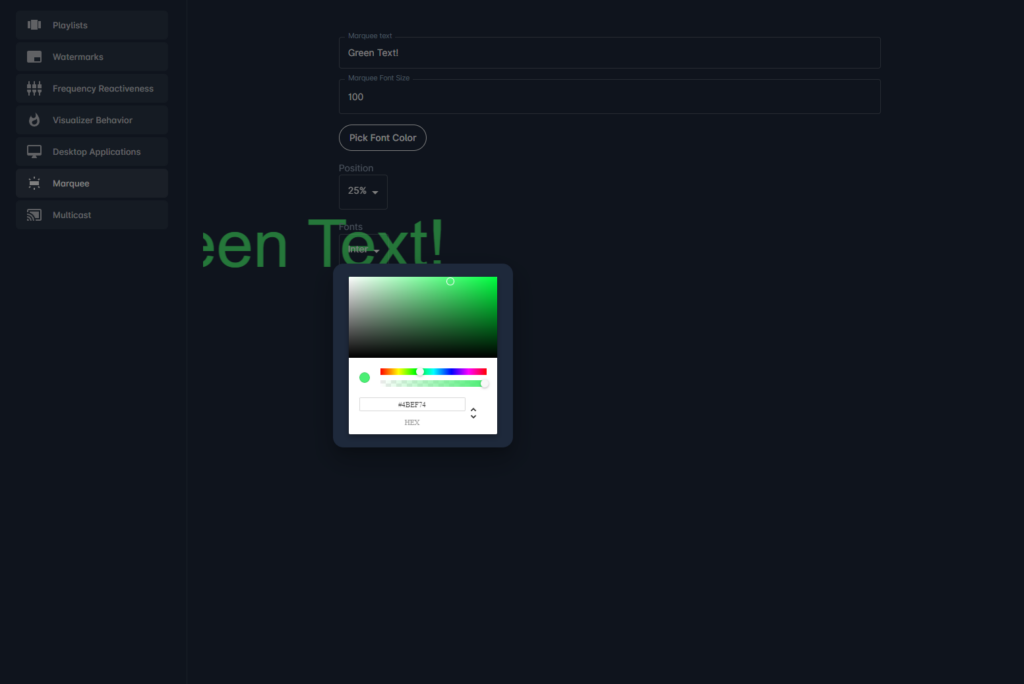
Then we can choose what position the text will be shown. As well as the font and what direction (right to left or left to right) the text will be displayed. Don’t forget to save your settings!

Now let’s go over the multicast settings.
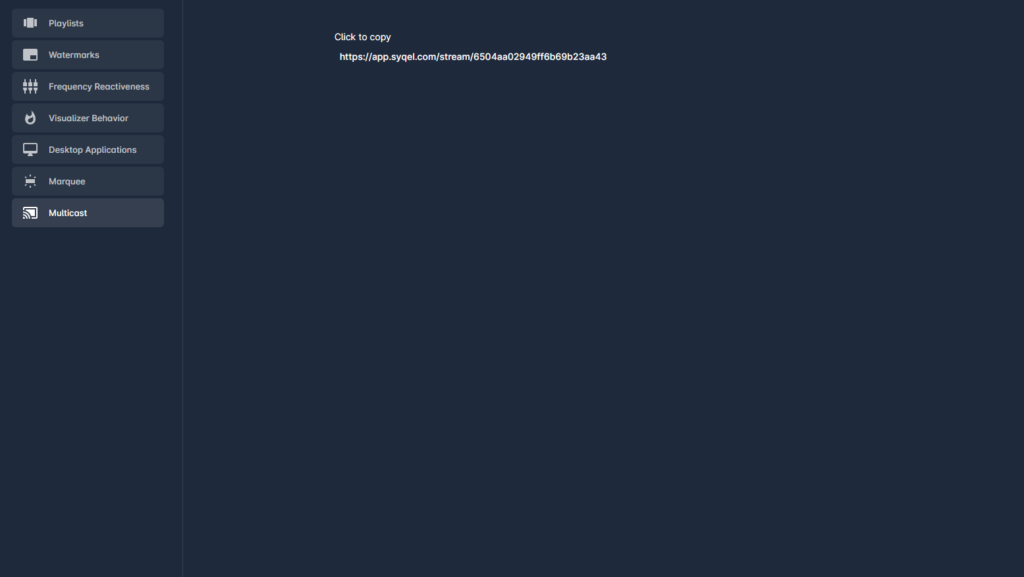
Multicasting
If you are an Elite user of SYQEL, you have access to multicasting. Here you will see a URL shown that will stream the visualizer as it’s going to any other device with access to a browser. This is really useful if you want to display the visualizer on separate displays like TV’s or 2nd monitors.
Those are all of SYQEL’s settings and options. Now let’s go through the Hotkeys available to you!
Hotkeys
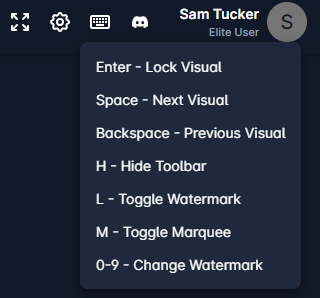
To see all of the hotkeys, click on the keyboard icon at the top right of the homepage.
There are a multitude of hotkeys available to you that affect the visualizer experience. Let’s go through them now:
1: Space – Cycle to the next visual in the playlist.
2: Backspace – Cycle to the previous visual in the playlist.
3: Enter – Lock/Unlock the current visual in place.
4: H – Hide the top toolbar.
5: L – Toggle your uploaded watermarks on/off.
6: 0-9 – Cycle between your uploaded watermarks.
7: M – Toggle your Marquee text on/off.
Starting the Visualizer
Now that we have gone through all of SYQEL’s settings and options, we can set-up our visualizer and get things started! First, let’s choose our visualizer engine. On the left-hand side we can choose Three.js or Milkdrop. Three.js allows us to select the visual playlist we created earlier, and milkdrop will cycle through tens of thousands of visuals.
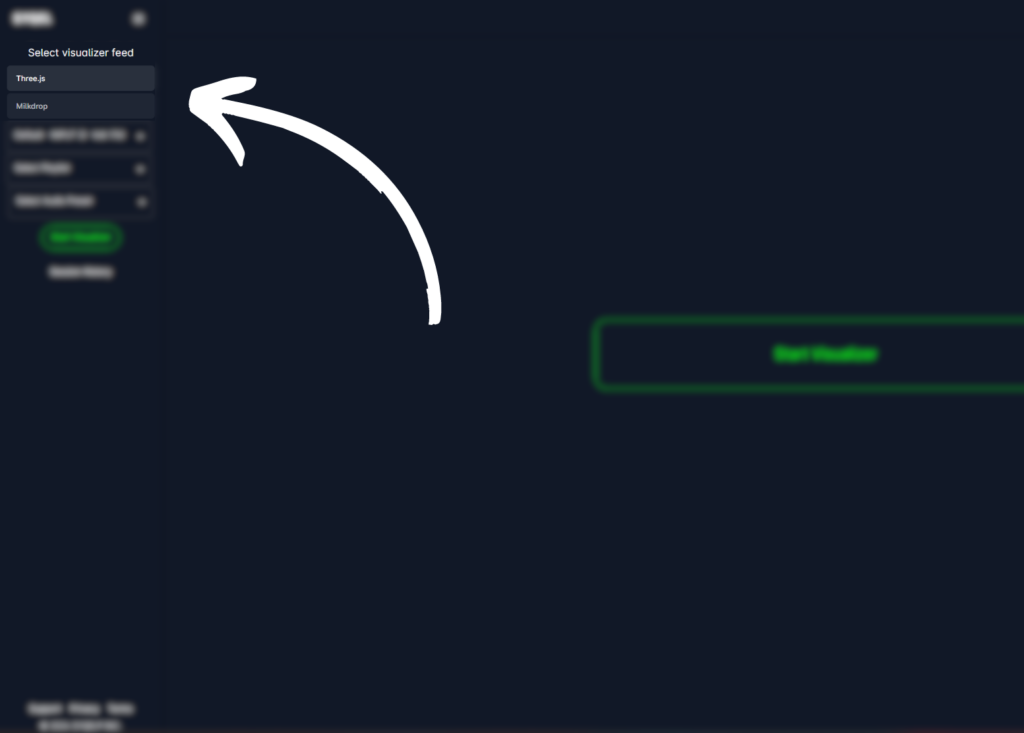
Under each engine we can select our audio input that we figured out earlier. Then (in the three.js engine) we can select the playlist we created earlier. Finally we can also select any audio presets we’ve created.
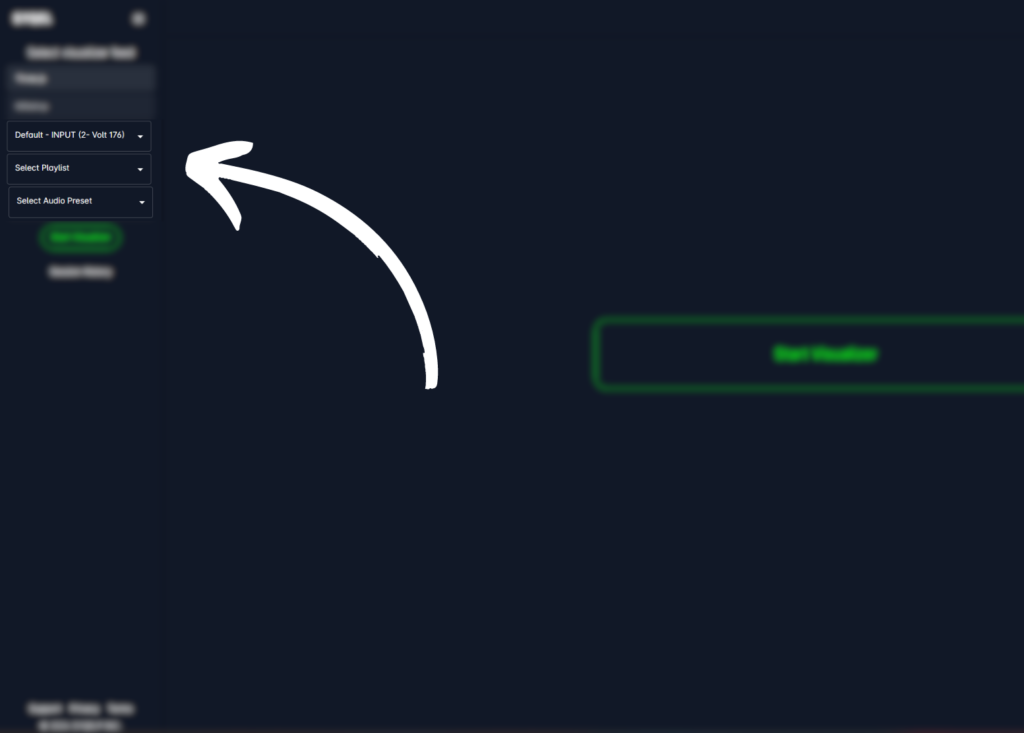
Finally, we can simply hit Start Visualizer to immediately see results! As long as we have audio coming in from Ableton, we will immediately see the visualizer responding to the audio.
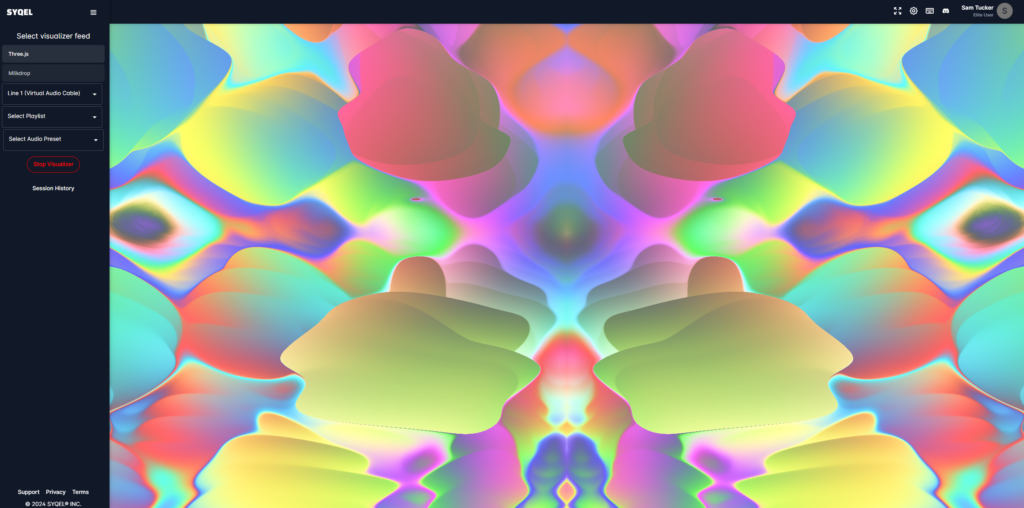
Visualizing your music from Ableton has never been easier. You now know how to navigate SYQEL and utilize amazing audio-responsive visuals. We still have a few more tips and tricks!
Recording and Streaming SYQEL
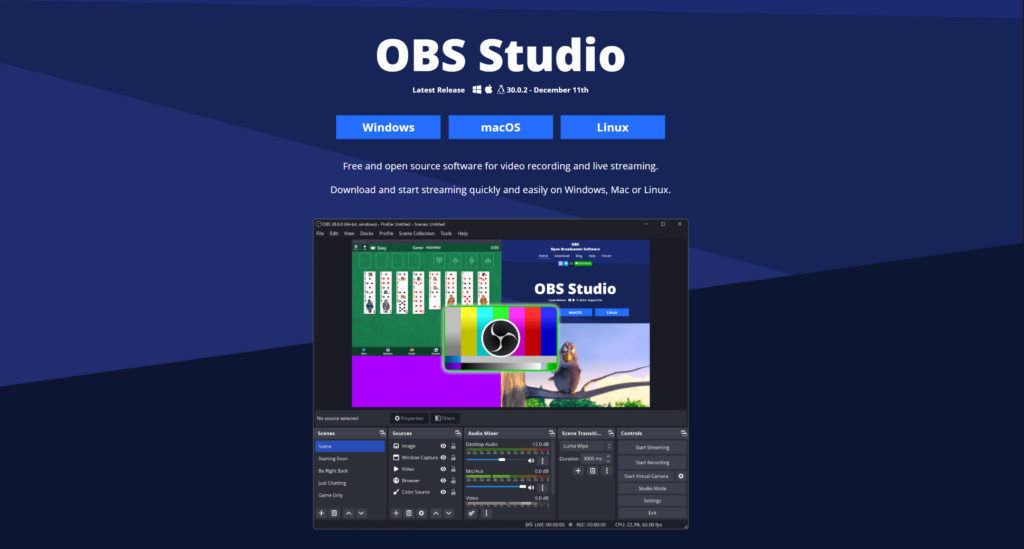
Recording and streaming SYQEL + Ableton only takes a few more steps. To be able to do this, we recommend downloading and installing OBS, a screen recording software.
Within OBS, we need to make sure our audio source is the same input as the one we used in SYQEL. So, within OBS’s audio sources, select the 3 dots next to your “desktop audio” and click on properties.
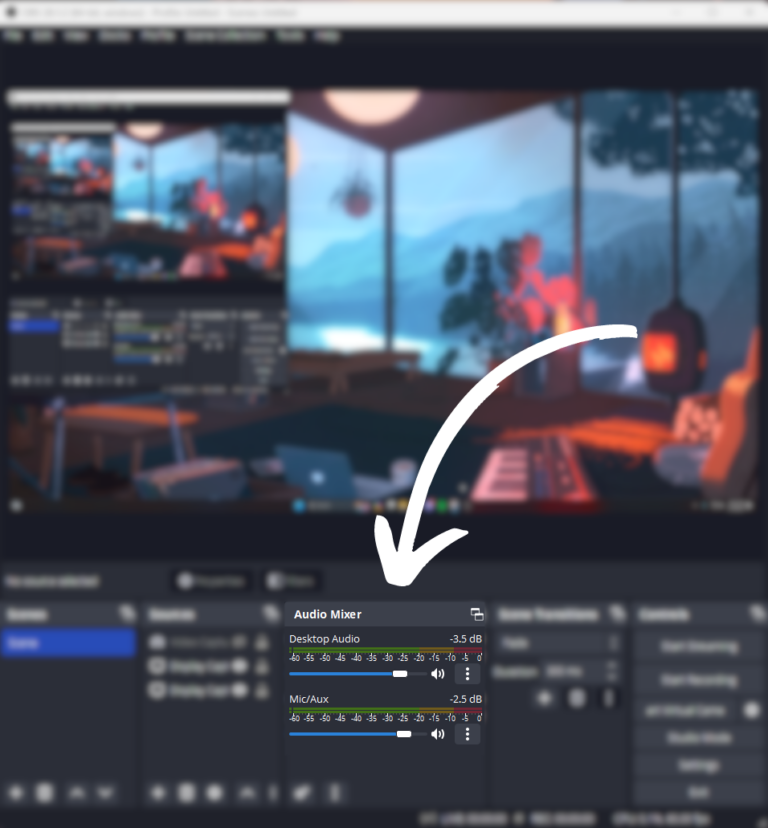
Then, select the same audio source we used when routing Ableton’s audio to SYQEL. This could either be your default desktop audio, or virtual audio cable if you are windows. For users on mac, this should also be your “core audio”.
Great, now we need to create a new window source. You can do this in the sources window by clicking on the “+” button.
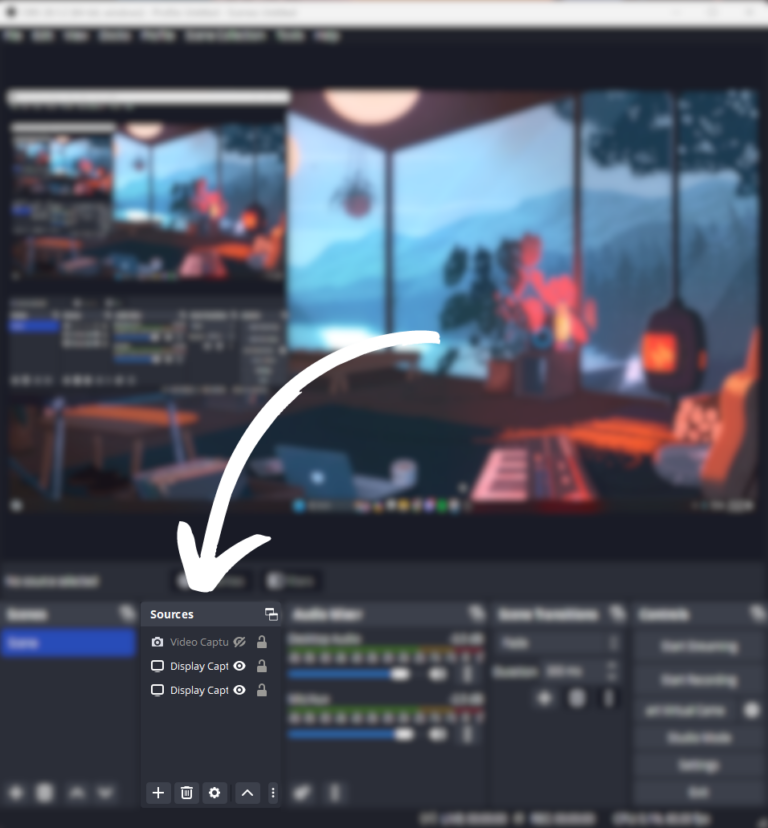
Select “window capture” and when prompted, choose the window that SYQEL is displayed on.
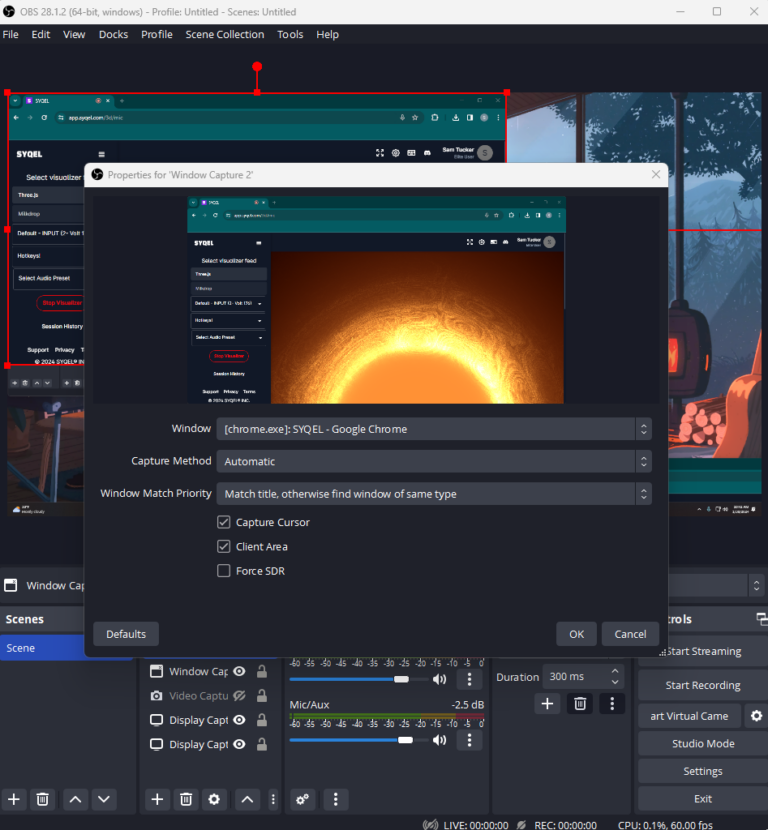
Now you are able to screen record SYQEL! Simply hit “start recording” or “Start Streaming” to begin!
Now you can utilize audio-responsive visuals with audio coming straight from Ableton!